HOW TO: bachelorette invites.
One of the many perks of your best friend getting married (aside from finally splurging on that dream dress)? You can feature wedding-related content on the blog without actually getting married yourself or having to plan an entire wedding. It has been such a fun and exciting year to be by her side during the whole planning process, and along the way I got to do a little planning myself. The bachelorette party.
We more or less used the wedding as an excuse to finally make that girls’ trip to Ibiza that we have been talking about for years happen. And I used my duties as one of the maids of honor as an excuse to make customized bachelorette invites.
The destination? Ibiza! The theme? Tropical!
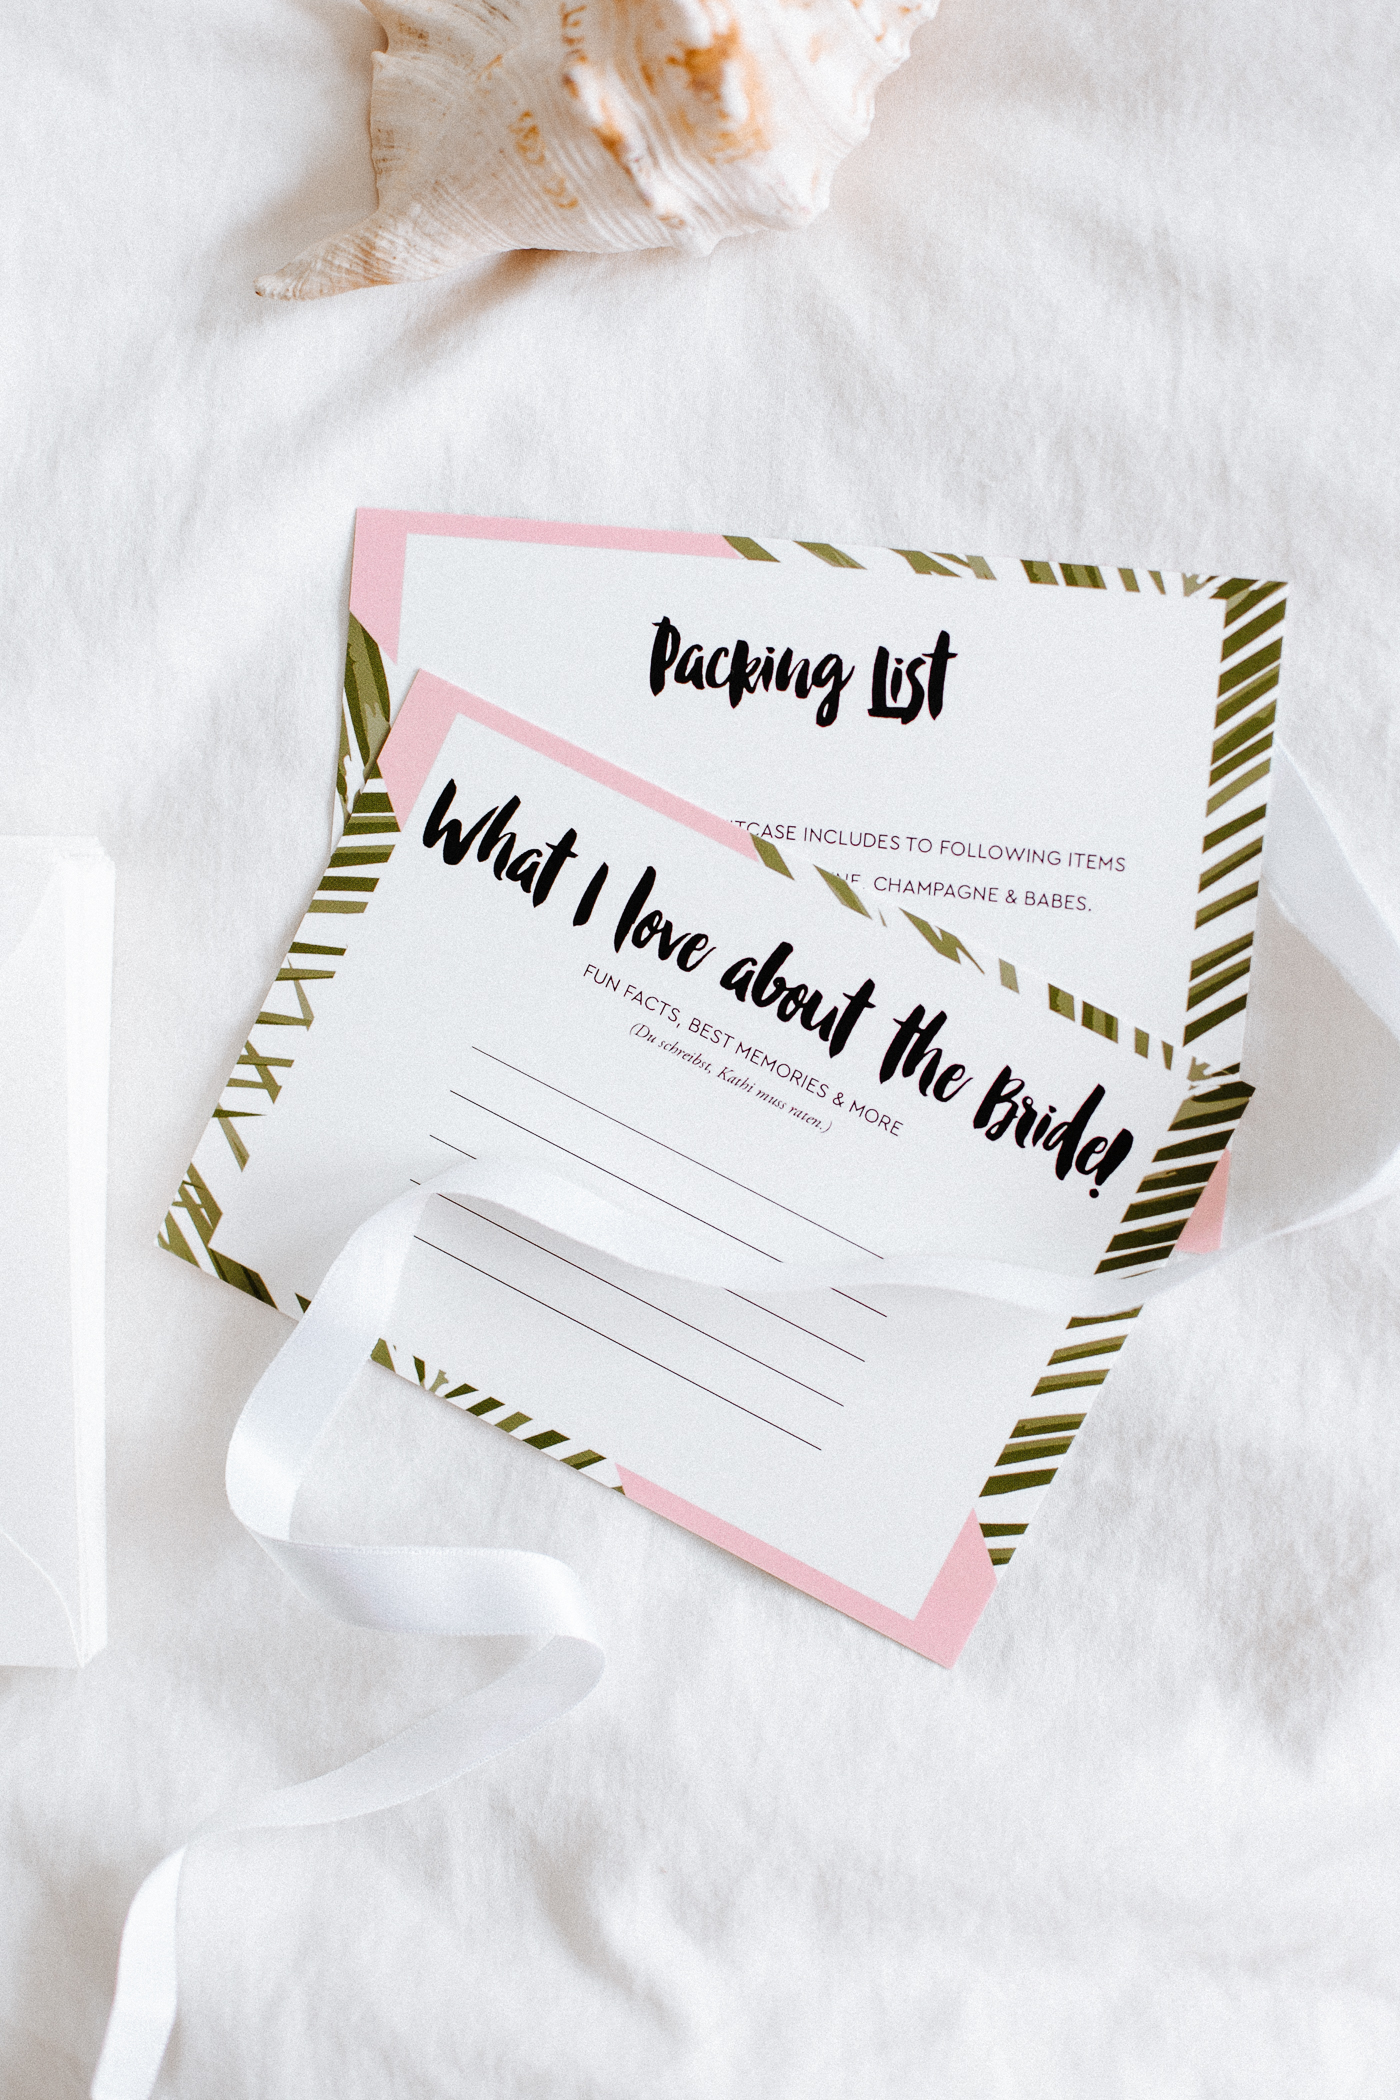
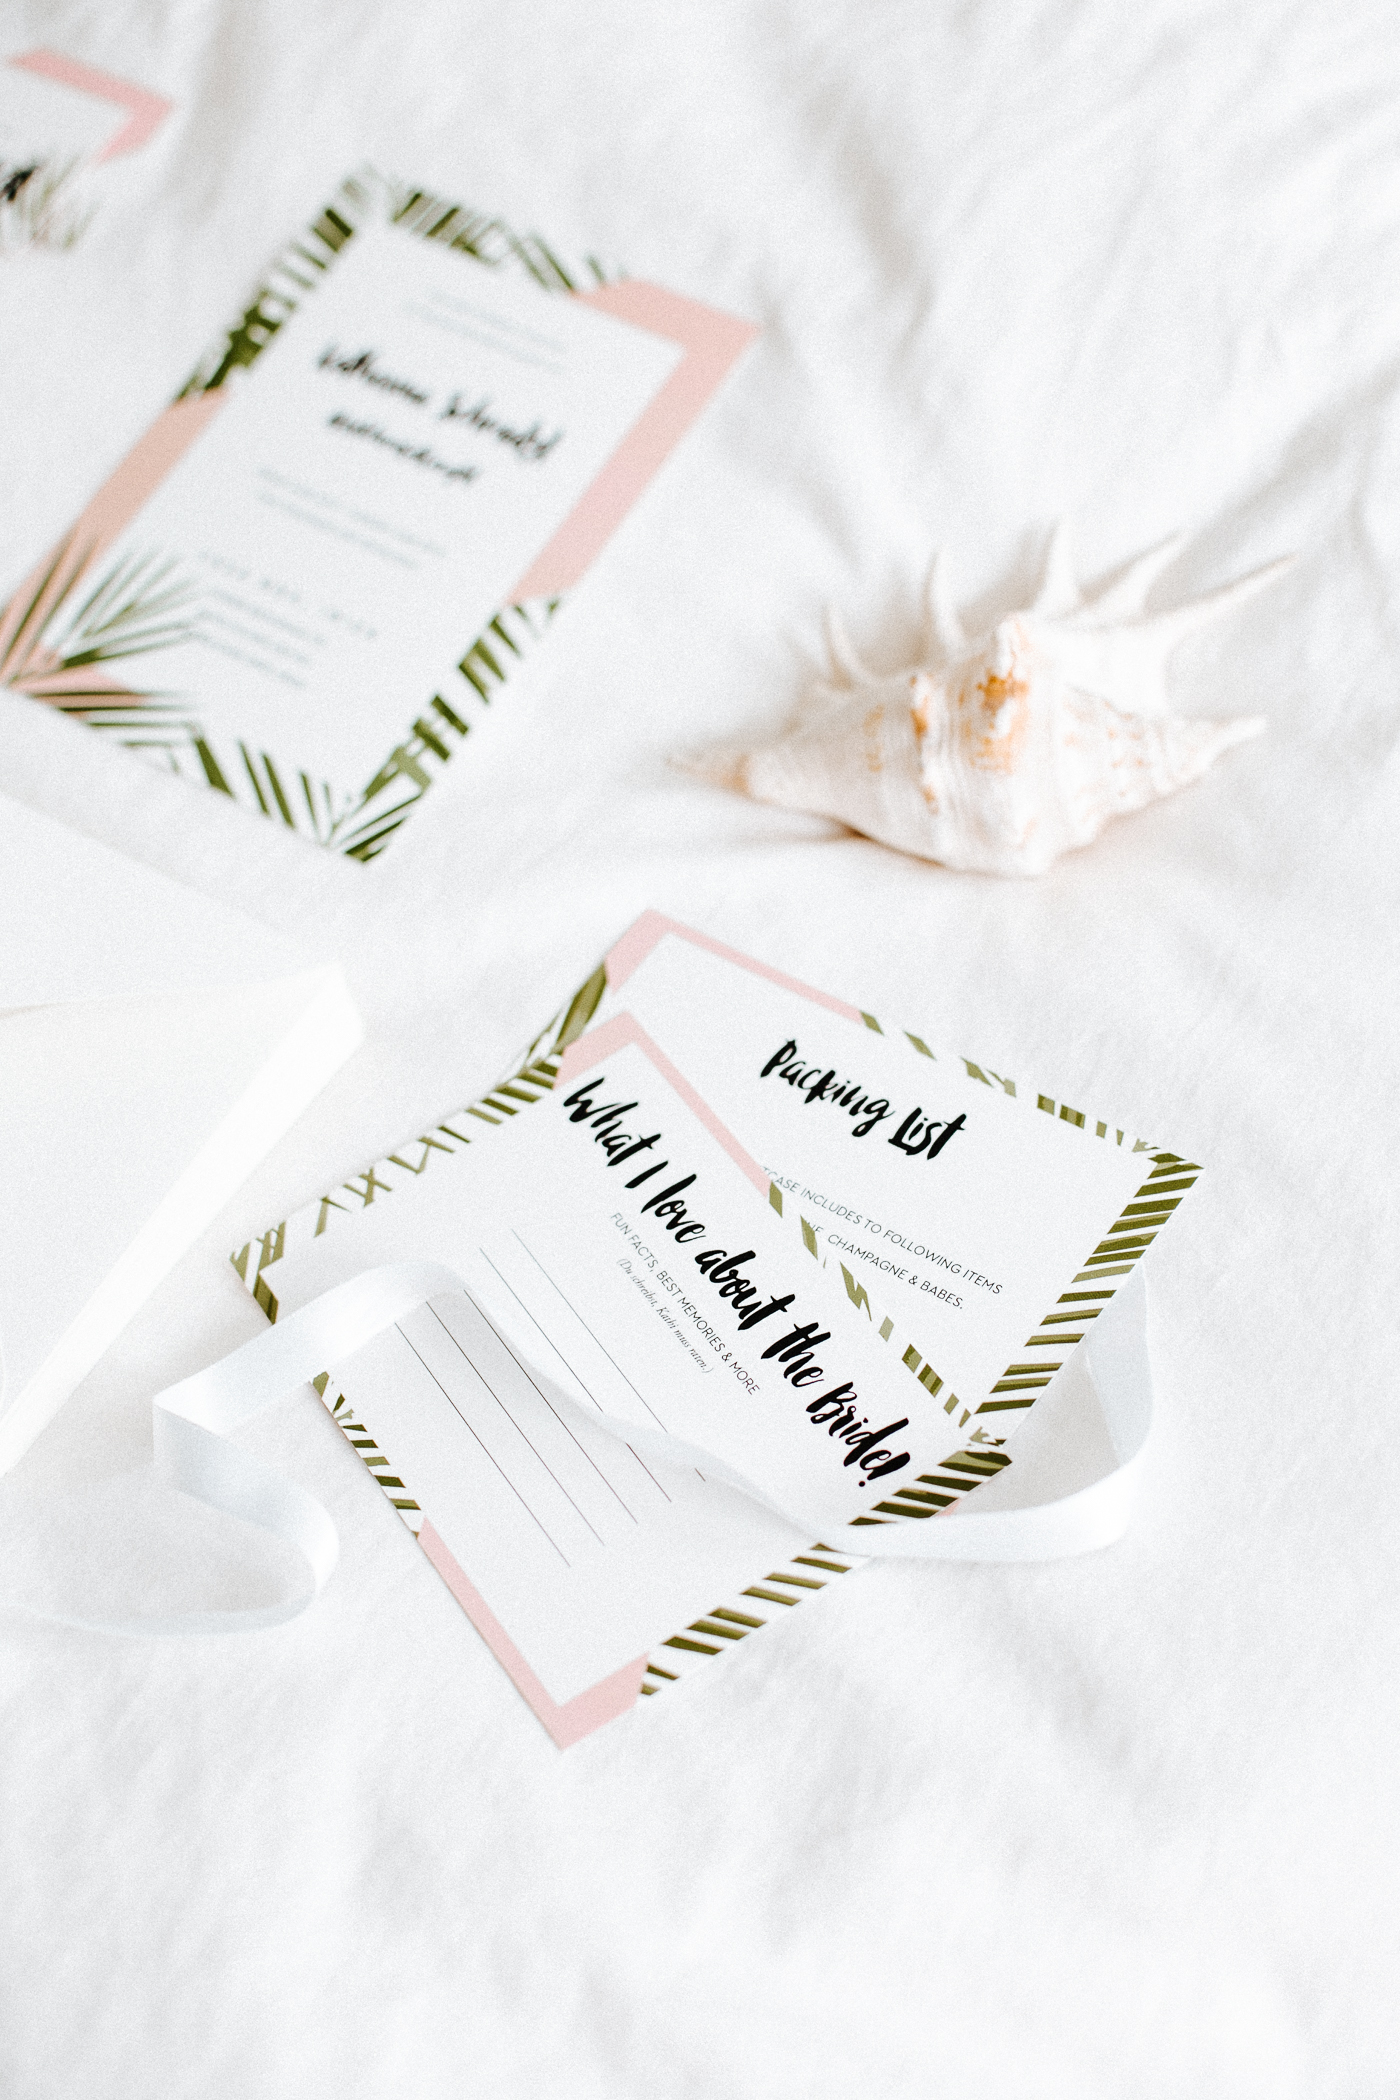
Since so many of you asked about the invites and how or where I had them made, I decided to share this low-budget d.i.y. version that comes in at around 50€ and only requires the most basic photoshop skills and a bit of your time. Another great idea of the bride. Just like most things at the wedding, she created the official d.i.y. wedding invites herself and I decided to steal the idea for the bachelorette celebrations.
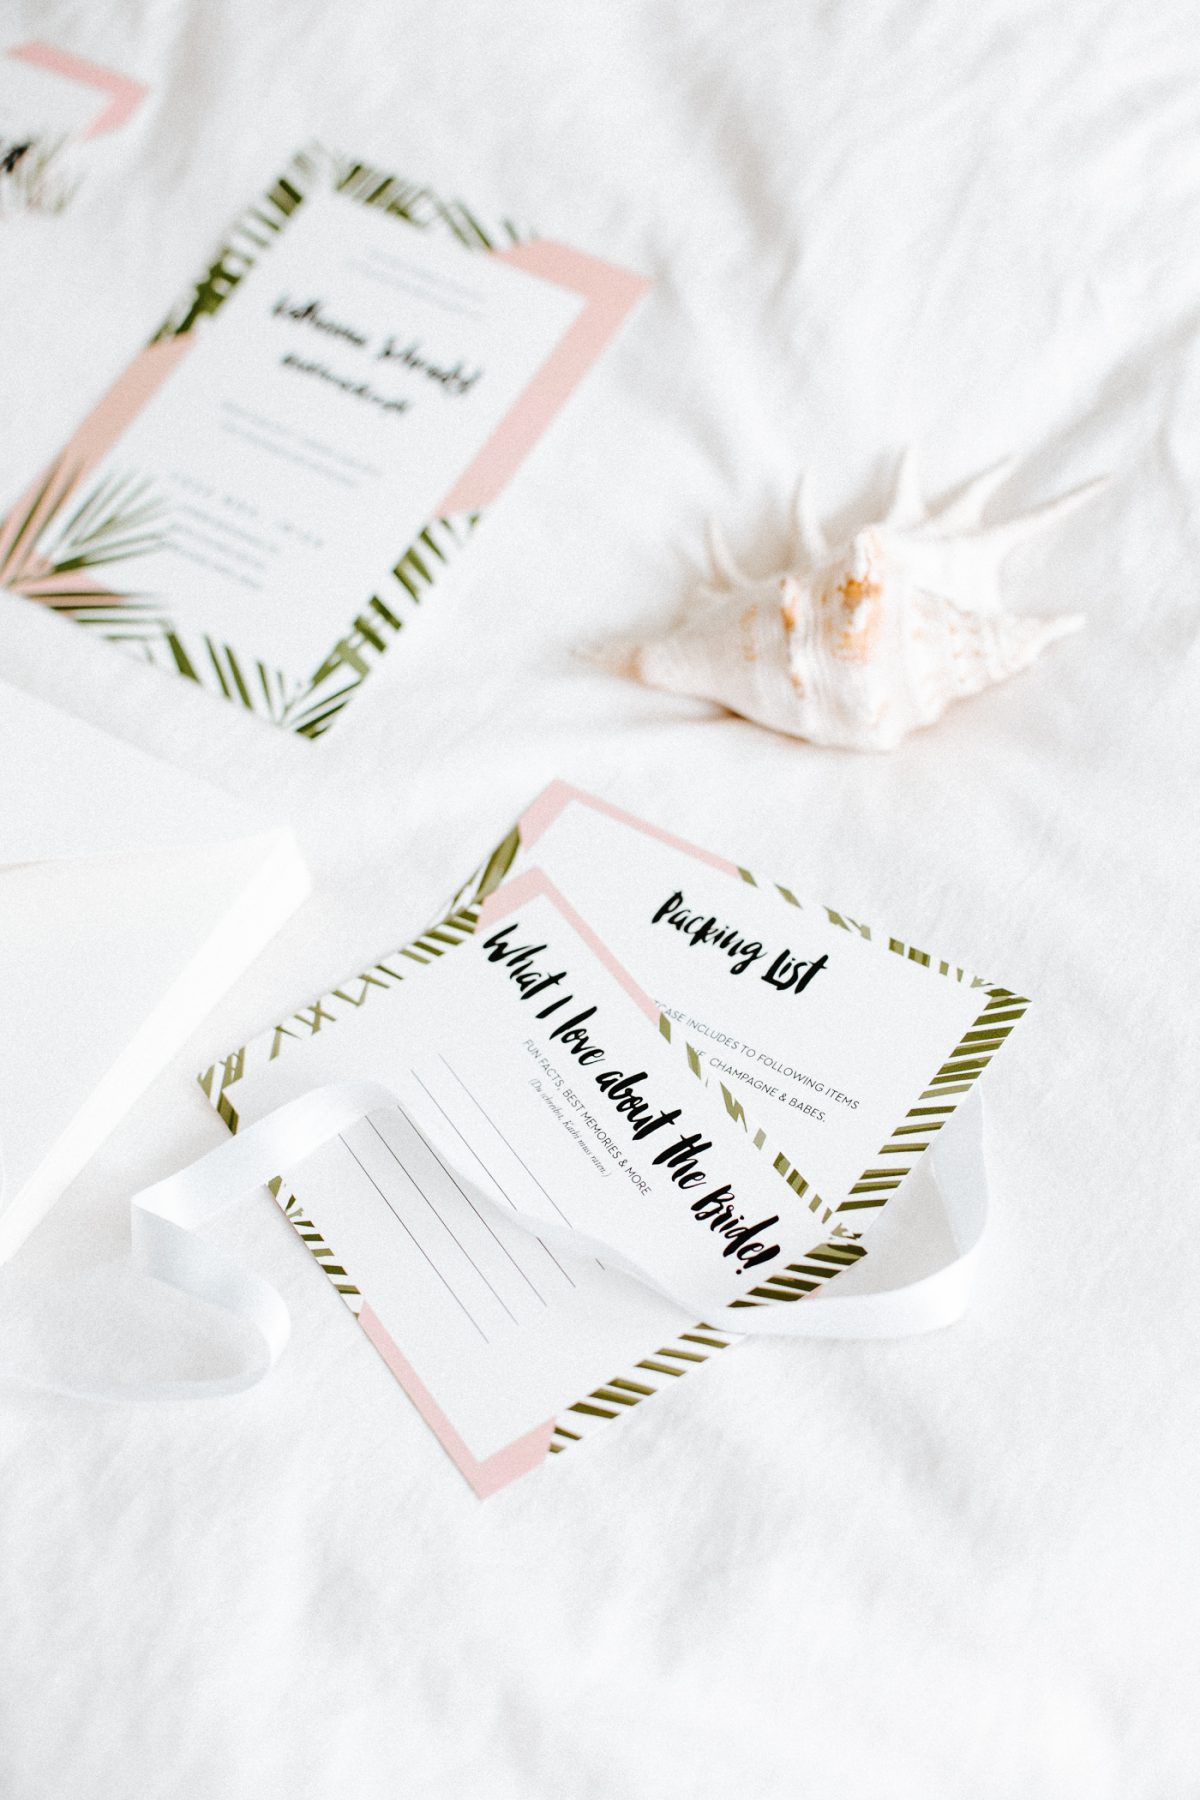
D.I.Y. Bachelorette Invites
- Purchase & download a template for the bachelorette invites. I found ours via Creative Market but also spotted plenty of pretty options on Etsy. These templates start as low as 5$ and I paid 21$ for the set I purchased. Generally, the purchases are instant downloads in form of Photoshop files.
- Photoshop is required to make the edits.
- Open the file in Photoshop and adjust the fonts & information provided on the bachelorette invites to your planning with the according date, time and other information.
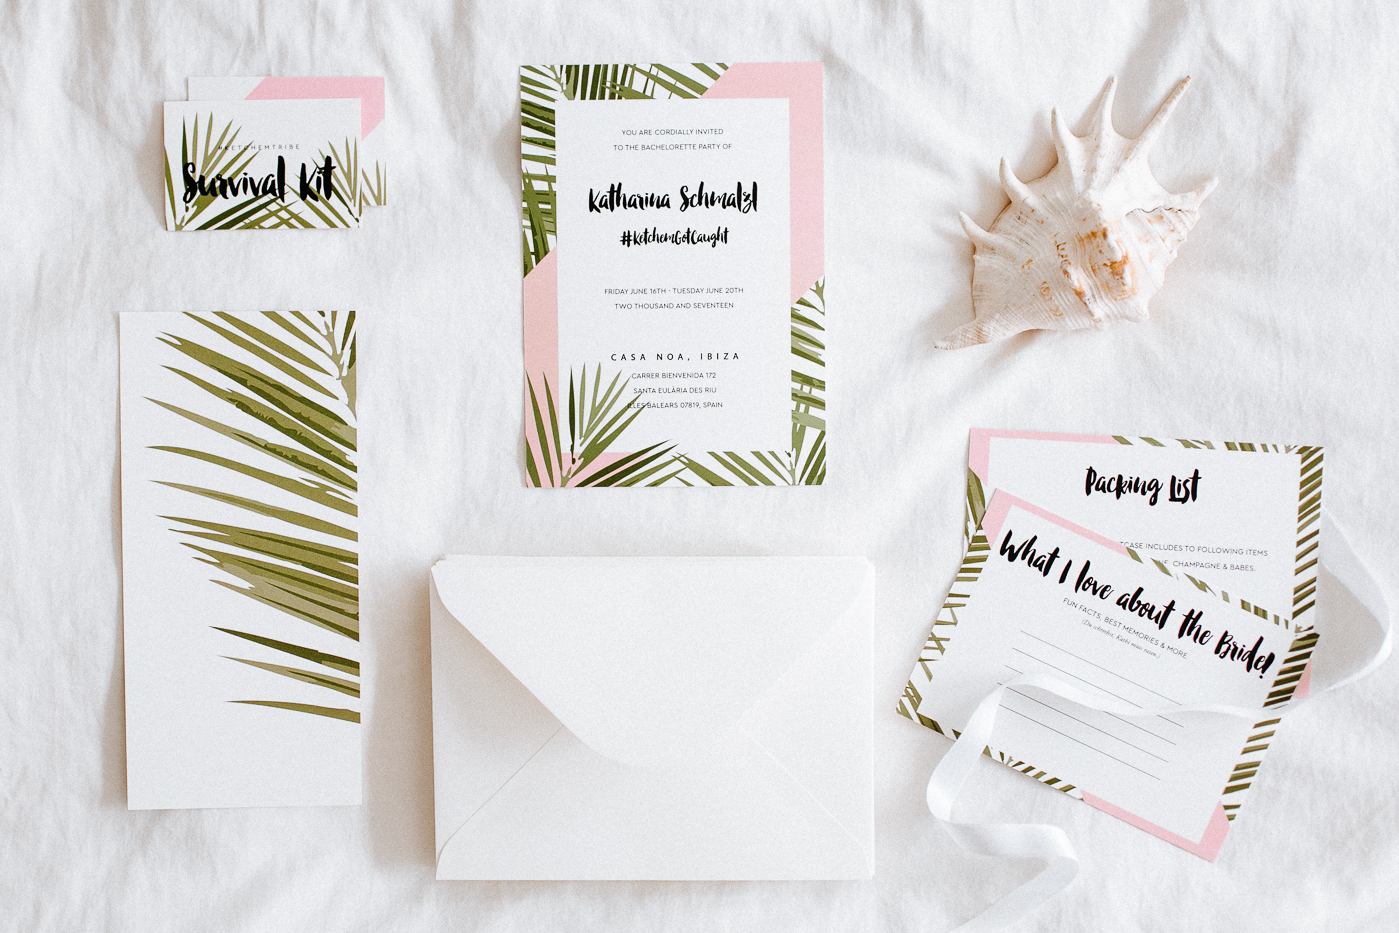
- The set I purchased was not specifically for a bachelorette party but rather for a wedding. Hence it included other templates such as name cards for the table, menu cards and table numbers. I made use of these to create custom hashtag-cards, an agenda for the entire trip and packing lists. However, if you are just looking to create an invitation, you can skip this step.
- Once the design has been adjusted, you are ready to print. I am sure most larger cities offer printing shops but I decided to go with an online order instead. We always have all our business cards printed at moo, so this is what I decided on. I can highly recommend the paper quality and found the process of uploading your own design and placing the order super easy to navigate.
- Paper quality? I choose “Original (finish on both sides) Matte Medium Postcards x 25” and “Medium Luxe Envelopes x 25“. The only downside is that the smallest amount you can order is 25. However, you can upload multiple designs (for example 1 design for the invite + 1 design for the agenda or menu) and it will split it 12/13. Since we were 11 girls, I did this and did 13 invites + 12 packing lists.
- Price? In total, I paid 47€ including shipping + 50 “business cards” (aka hashtag cards). I am guessing just the bachelorette invites + envelopes would come in somewhere around 35€ including shipping.
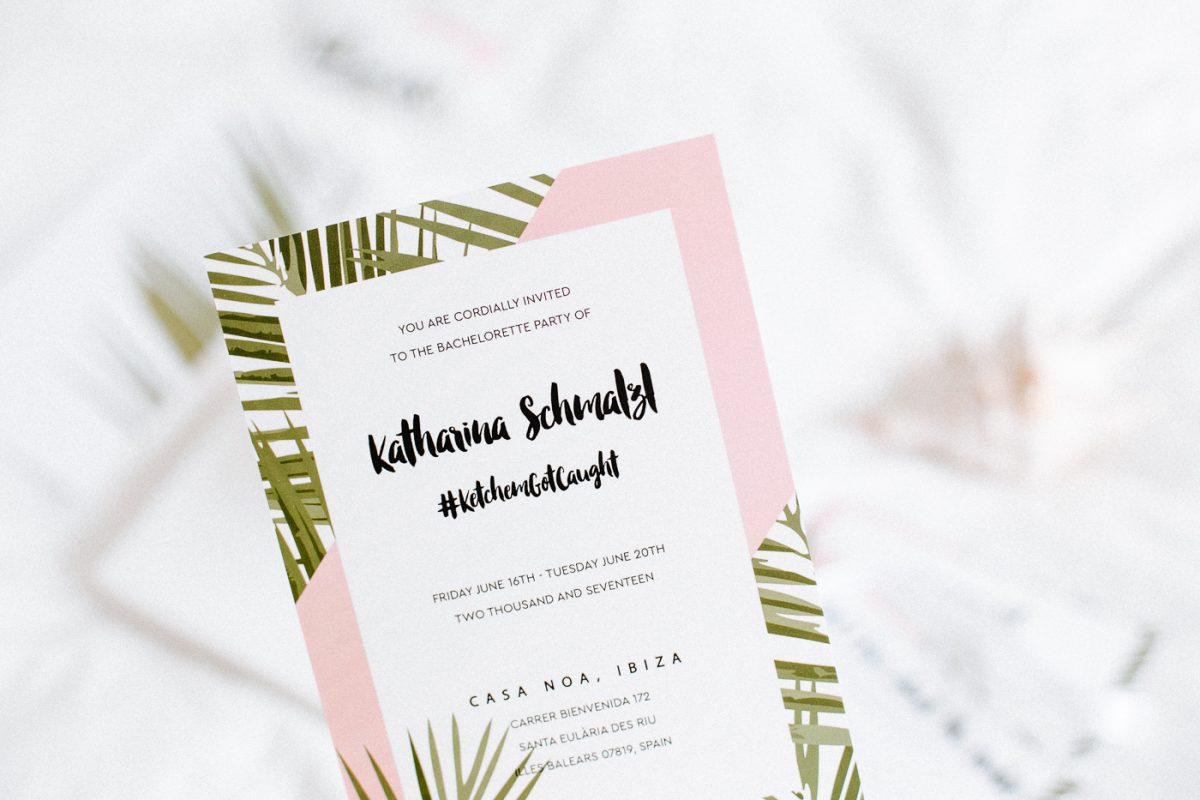








Wow, they look absolutely amazing! Too bad I do not really have girl-friends to go to a bachelorette party with and am not planning to have one myself either 😀
Nasklee – http://www.nasklee.com
Ohhh das hast du ja echt mega cool gemacht. Das sieht alles so schön und passend aus! Wirklich toll was ihr da zusammengestellt habt 🙂
LG
Brini
http://brinisfashionbook.com/
Die Einladungen sind echt super schön geworden und sehen aus, als würden sie vom Grafiker stammen.
Ich muss unbedingt mal bei Creative Market vorbeischauen.
Die scheinen ja echt tolle Sachen zu haben.
xx Julia
http://www.talesofjules.com/
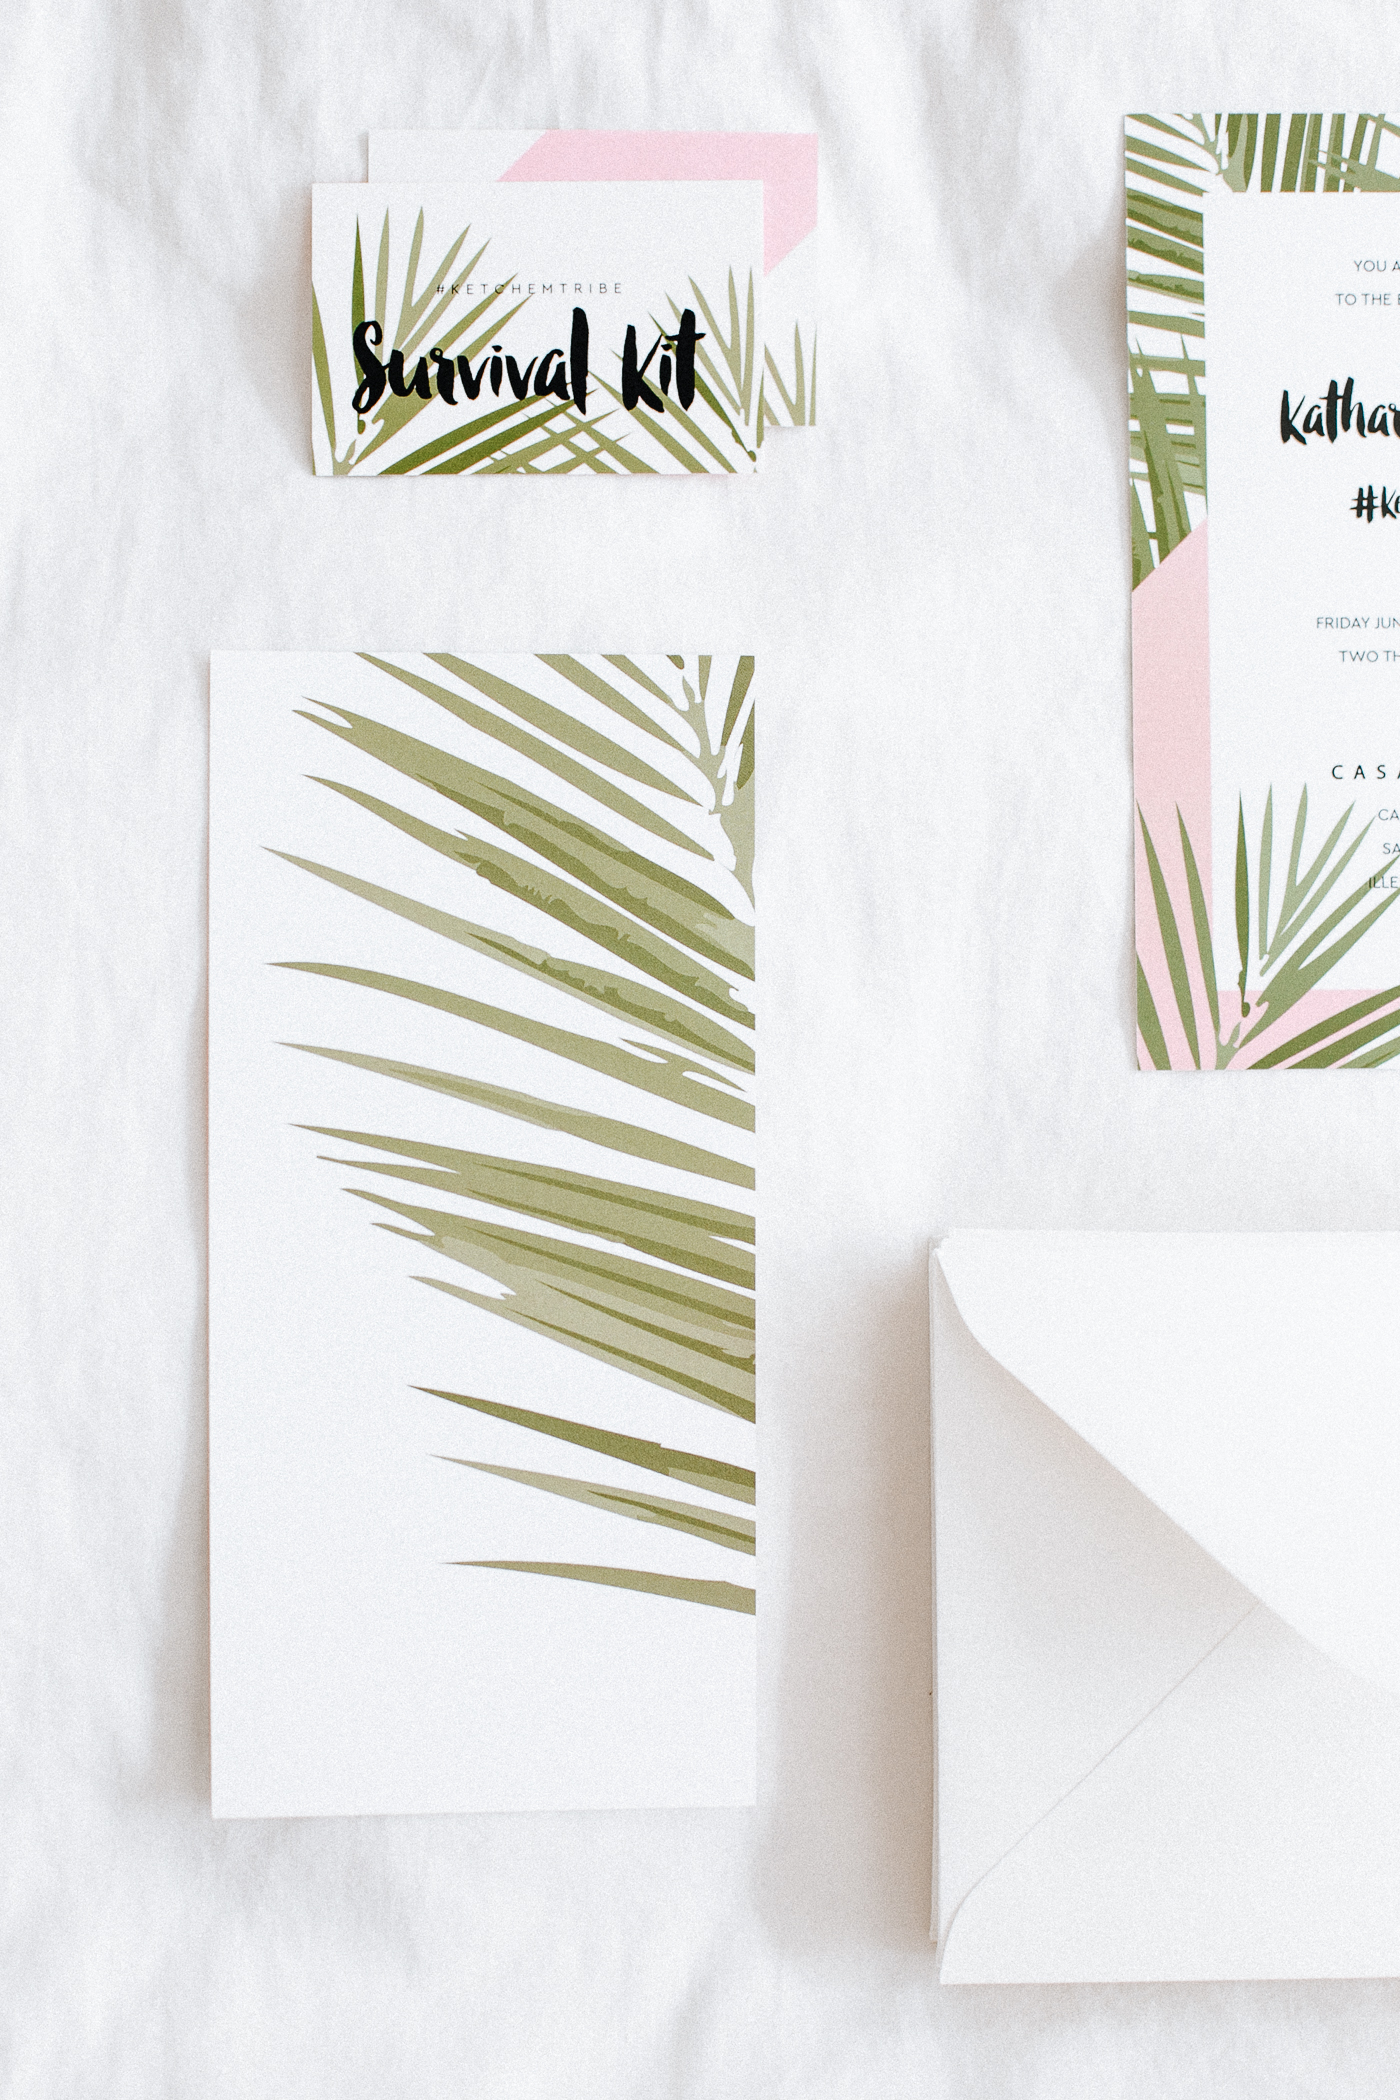
Traumhaftes Design mit ganz viel Liebe zum Detail. Die What-I-Love-About-The-Bride-Karte finde ich eine super süße Idee. Jedoch habe ich noch eine Frage: Was versteckt sich hinter dem Survival Kit (Busness Card Größe) und dem länglichen Palmenblatt?
Liebe Grüße
Alexandra
Liebe Alexandra,
die Business Cards mit “Survival Kit” waren lediglich Anhänger für kleine Goodie Bags in denen alles von Sonnencreme bis hin zu Aspirin & Co. war und auf der Rückseite des Palmenblatts war die genaue Agenda für die 4 Tage, die wir jedoch gerne für uns behalten möchten.
Alles Liebe,
Vicky
Lieben Dank für deine Antwort. Die persönliche Agenda ist doch total verständlich. Ich danke euch beiden auf jeden Fall für die tollen Inspirationen.
Liebe Grüße
Nina
Woooow, die Einladung ist echt toll geworden, danke für das Tutorial, solche Sachen mache ich immer total gerne, da kann man sich immer so kreativ austoben. Dir ist es auf jeden Fall sehr gelungen!!!
Liebe Grüße,
Sandra
Liebe Vicky,
die Karten sind einfach toll und machen richtig Stimmung!
Liebe Grüße
Katja
http://www.cestlevi.blog | Follow me on Instagram