

INSTA 101: editing photos + filters I love
Over the years, one of the most frequently asked questions on my Instagram (@vickyheiler) has probably been “What filters do you use to edit your photos?”. While I try to be good about answering all your questions directly on the app, I thought it would be fun to put together a post of how I like to edit my Instagram photos, what apps I have and which filters I love to use. For me personally, there are plenty of accounts that I follow where I would LOVE to know how they edit their photos – Sincerely Jules being one of them. I love the look of her account but have never found the answer of what filters she uses. That being said, it is certainly no secret how I edit my photos and I am more than happy to share all the details with you .
The Look Of The Feed:
Personally, I love it when the overall look of my feed “matches”. Meaning: I try to stick to a certain color scheme and slowly ease into a different look with a soft transition. Here are two examples, the left being very blue/turquoise heavy, while the right has a lot more pink and white.

Taking Photos:
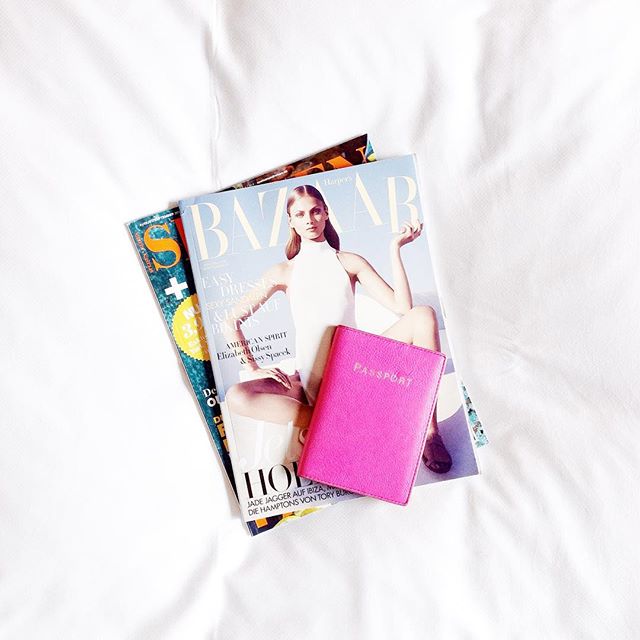
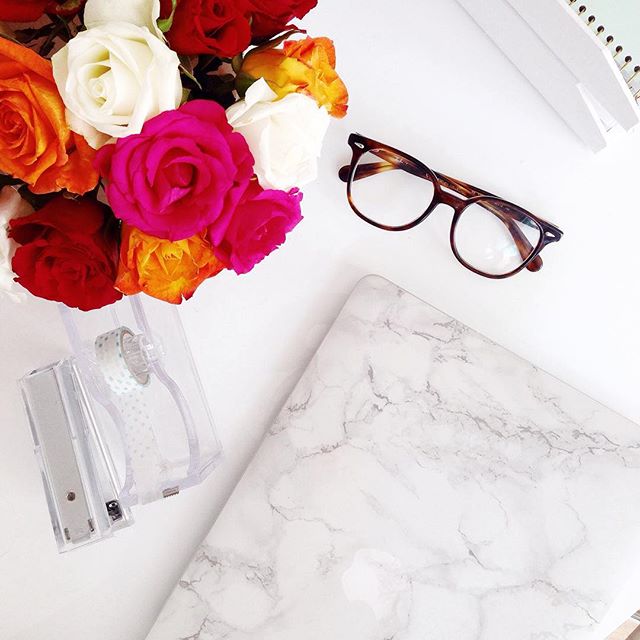
A good Instagram picture starts way before editing, it starts by taking the photo. I always try to post photos that are aesthetically appealing, sharp and have good, natural lighting. I (almost) never take pictures with artificial lighting, as they usually turn out too yellow. It has been proven that lighter, whiter photos perform better on Instagram, which I why I try to incorporate flat-lays or photos with more white every now and then. Here are two recent examples:
What Apps To Use:
If I had to recommend just one app, it would be VSCO Cam. However, definitely invest a few $$ for some of their filter packages. Another useful tool for me personally is MeituPic. My phone is almost 3 years old and my camera has a red spot that won’t go away anymore. I usually use the “acne” function in MeituPic to get rid of that spot on my pictures. Also, their “skin” function is great when you’re trying to make your photos a bit brighter. I personally don’t use it on my selfies, because I think photos where the skin is made “too soft” are tacky, but the “white” and “tone” are great for adjusting the white-balance.

What filters to use:
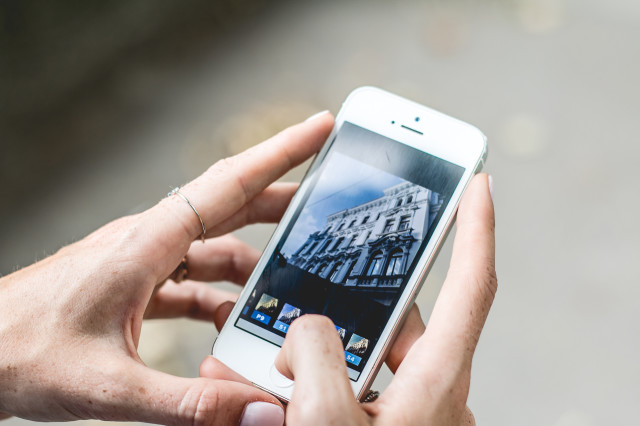
My personal favorites are the S-filters. I used to edit all my photos with S1, which gave them a slight pink hue. Now, for about a year, I’ve been using S2 for most of my photos, or S3 if they need a bit more saturation. I usually take the filter back a bit (12 is full force and I adjust my photos to 8 or 10) and add additional brightness. Then I take my pictures to Instagram. Rarely I will add a bit of Juno (only about 20% on the scale) and I love the “lux” effect, which I feel like makes your photo and objects in it pop.
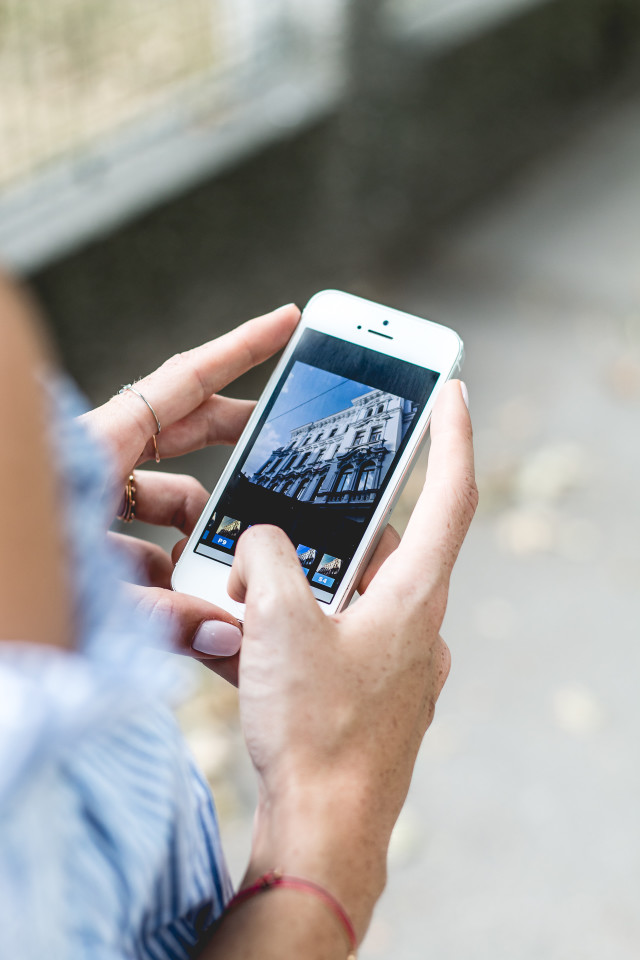
Is there anything else you’d like to know about my Instagram pictures? What apps can you recommend and which are your favorite filters with VSCO Cam? I’d love to know, simply leave a comment below!




Toller Beitrag, Vicky!! Ich liebe liebe liebe deinen Instagram Feed und hab’ mich wirklich schon lange gefragt welchen Filter du bei VSCO Cam verwendest! Vielen Dank für diesen Beitrag 🙂
I would love to know where your blouse is from. It looks lovely 🙂
Hi Jasmin,
die Bluse ist von Chicwish – das ist die hier: http://bit.ly/1dvsTP2
xox Vicky
Sehr interessanter Beitrag, auf den ich mich schon lange gefreut habe 🙂
Ich mag seit einigen Wochen unglaublich gern die Apps Enlight sowie Faded, da man auch sehr gut selektiv Farbänderungen vornehmen kann (mein Hintergrund wird zum Beispiel oft nicht so schön hell, den kann man dadurch sehr gut aufhellen, ohne die eigentlichen Objekte auszubleichen) und die Filteroptionen sehr vielfältig sind. Allerdings sind beide kostenpflichtig.
Ganz liebe Grüße,
Yasmin
die meisten Bilder oder zumindest die die eine leichte Tiefenschärfe haben so wie das letzte Bild hier , machst du aber mit der Spiegelreflex oder?
Hi MadCat,
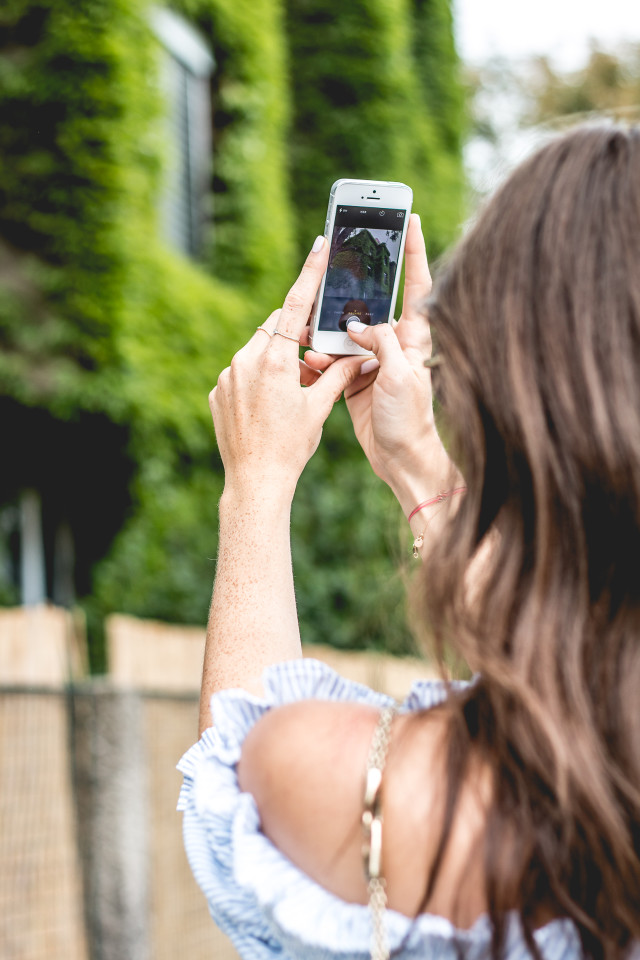
alles Fotos in diesem Beitrag auf denen meine Handy zu sehen ist wurden nur als Moodbilder für den Post gemacht – natürlich mit einer DSLR Kamera 🙂 Auf Instagram poste ich meistens direkt vom Handy bzw die Fotos entstehen auch dort. Ausser es sind zB Fotos von Blogposts bzw. Outfits. Hoffe das macht Sinn?!
Alles Liebe,
Vicky
Liebe Vicky
Vielen Dank für den tollen Beitrag. Sehr spannend zu lesen, wie du deine Instagram Bilder bearbeitest. Und beruhigend zu wissen, dass du auch etwas daran rumfeilen musst, bis sie so aussehen. 🙂
Alles Liebe,
Corinne
These are great tips, I love your photography style. My favourite app is Photoshop Express and VSCO.
http://www.mintnotion.com
Liebe Vicky,
vielen Dank für die “insights”. Mich würde zusätzlich interessieren, wie Du/Ihr die Fotos von eurer DSLR Kamera auf euer iPhone übertragt? Ich hatte bisher einfach einen SD-Reader-Adapter für mein Samsung, da ging alles ruckzuck. Mittlerweile habe ich allerdings ein iPhone und bin noch etwas unschlüssig, wie ich am schnellsten die Fotos von der Kamera übertragen könnte. Machst Du das einfach über die iCloud (also Laptop – iCloud)?
Vielen Dank und alles Liebe 🙂
Katja
Liebe Katja,
ich habe die 70D von Canon, die hat WiFi integriert und mit der Canon EOS App hat man über’s Handy direkten Zugriff auf die Fotos der Kamera – ist wirklich mega praktisch und empfehlenswert.
Alles Liebe,
Vicky
Vielen Dank für die schnelle Antwort 🙂 leider habe ich nur die Eos 700D ohne Wifi Funktion, hätte ich mal eher berücksichtigen können 😉 Trotzdem danke und viele Grüße aus Frankfurt
Toller Post!
Glaube diese S Filter gibt es nicht mehr 🙁
Wirklich? Das kann ich mir fast nicht vorstellen! Die Serie heißt “bright & clean” soweit ich weiß – vielleicht wirst du damit ja fündig 🙂
xox Vicky
Toller Beitrag! Ich liebe und nutze Vsco auch 🙂
Viele Grüße, Fiona THEDASHINGRIDER.com
julia die filter gibt es noch ganz aktuell ! 🙂
@katja,- ich habe dasselbe problem! bei meinem htc hat das spitze funktioniert- fotos am laptop von der kamera und dann mit einem kabel rübergespielt! das geht leider mit einem iphone nicht was ich sehr schade finde- ich habe einen weg gefunden denn über die cloud ist mir das zu unsicher- unter den itunes musst du die bilder hochladen und dann bekommst du sie auch aufs handy 😉 so mache ich das
ich liebe afterlight für meine umrahmungen und verwende photo effects sonst nix 🙂
Ich habe mittlerweile herausgefunden, dass man einfach eine SD Card mit WiFi benutzen kann. Dann geht es noch unkomplizierter. Aber Danke Dir für deinen Vorschlag 🙂
Ja, toller Beitrag! Kann ich mich den anderen nur anschließen. Leider habe ich die Filter auch nicht finden können, sehr sehr schade!
danke für den tollen beitrag
http://carrieslifestyle.com
Posts online about Egypt, Miami, Provence…
schöne tipps! VSCO ist mir aber manchmal sogar irgendwie zu umständlich, ich bin ein kleiner Muffel, was filter angeht 🙂
alles liebe
Ina
• ina-nuvo.com •
Muchas gracias por los tips, me encanta tu feed de isntagram.
Si les gusta el estilo, pasen por mi web http://www.damarivergara.com 🙂
Un abrazo!
danke für diesen tollen beitrag.
ich experementieren auch sehr viel mit meinen bildern. ich liebe im moment ganz besonders die facetime app, vor allem für die zahnbürste
Hi Vicky!
I love your picture…. do you always use your phone to take picture or you have another camera?
thanks!
I love you feed now, what filters do u use now?